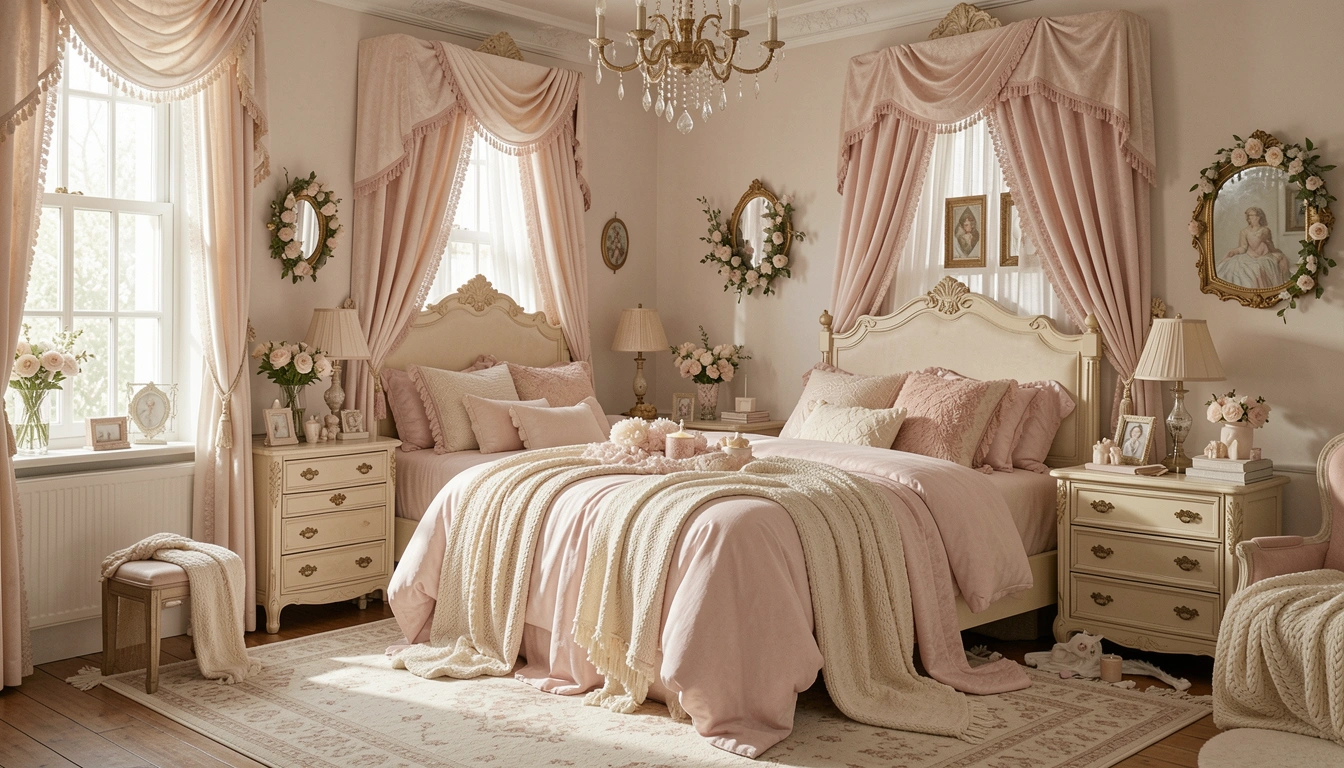
I remember staring at my girl's room. It had a few pink pillows, but everything felt flat. Too much sparkle in one spot, empty walls elsewhere. I wanted that princess feel without the chaos. Rooms like this can tip into clutter fast if you just pile on themes.
I'd tried scattering crowns and tutus before. It looked busy, not right. The bed sagged under mismatched blankets. I stepped back and thought about what makes a space hold together.
This is how I fixed it. Simple choices that settle in.
How To Style Princess Bedroom Decor
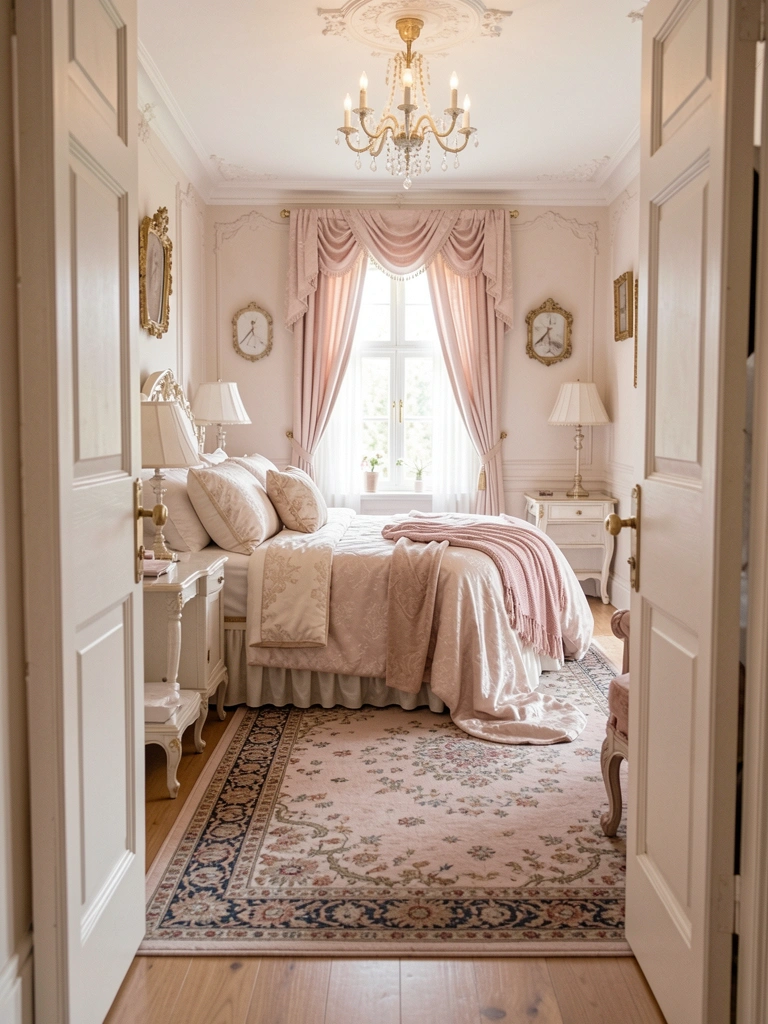
This method shows you how to layer princess elements so the room feels balanced and comfortable. You'll end up with a space that's playful but calm, pulling eyes gently around without overwhelming.
What You’ll Need
- Soft pink ruffled comforter set, queen size
- Gold crown wall decal, 24-inch peel and stick
- Sheer white canopy bed drapes, full size
- Pink velvet throw pillows, set of 4
- Crystal table lamp, 20-inch height
- White wooden nightstand with drawer
- Pastel pink area rug, 5×7 feet
- Tiara-shaped shelf organizer
Step 1: Anchor the Bed with Layered Bedding
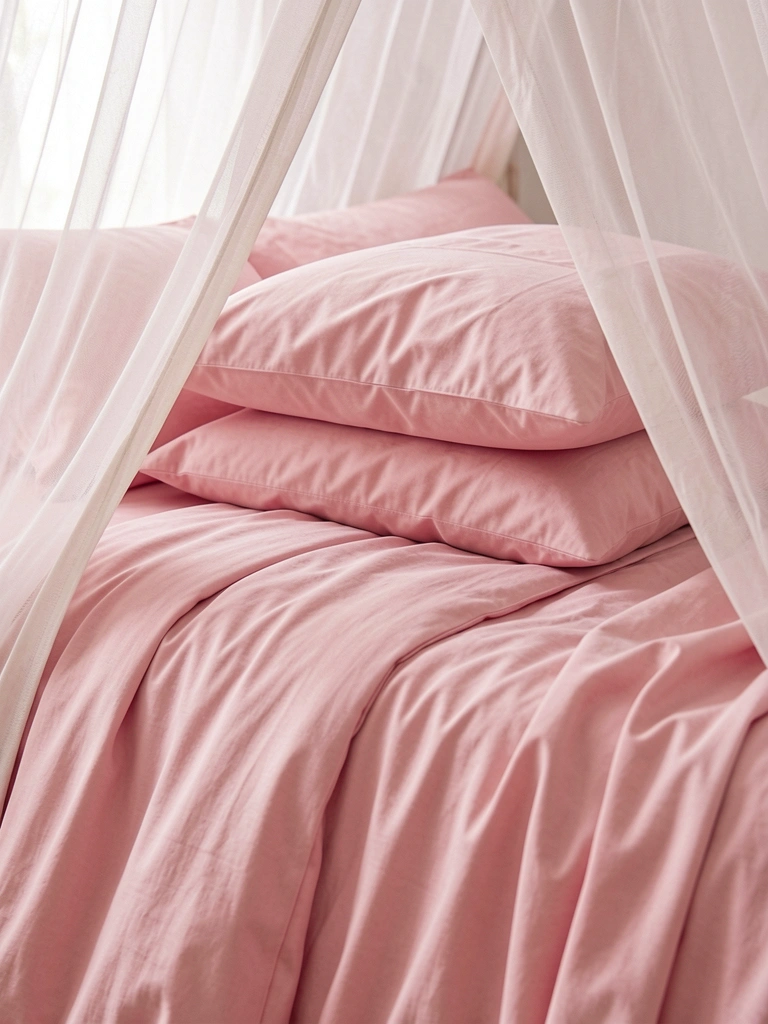
I start with the bed. It's the room's heart. I layer the pink comforter first, tucking it loosely so it drapes soft. Then add the velvet pillows in odd numbers—three at the head, one leaned against the footboard.
This pulls the princess feel right in without shouting. The bed looks full but not stuffed. People miss how layers add depth; flat beds feel cold.
Skip matching every pillow perfectly. That stiffness kills comfort. Now the room has a base that invites sitting.
Step 2: Hang a Canopy for Gentle Height
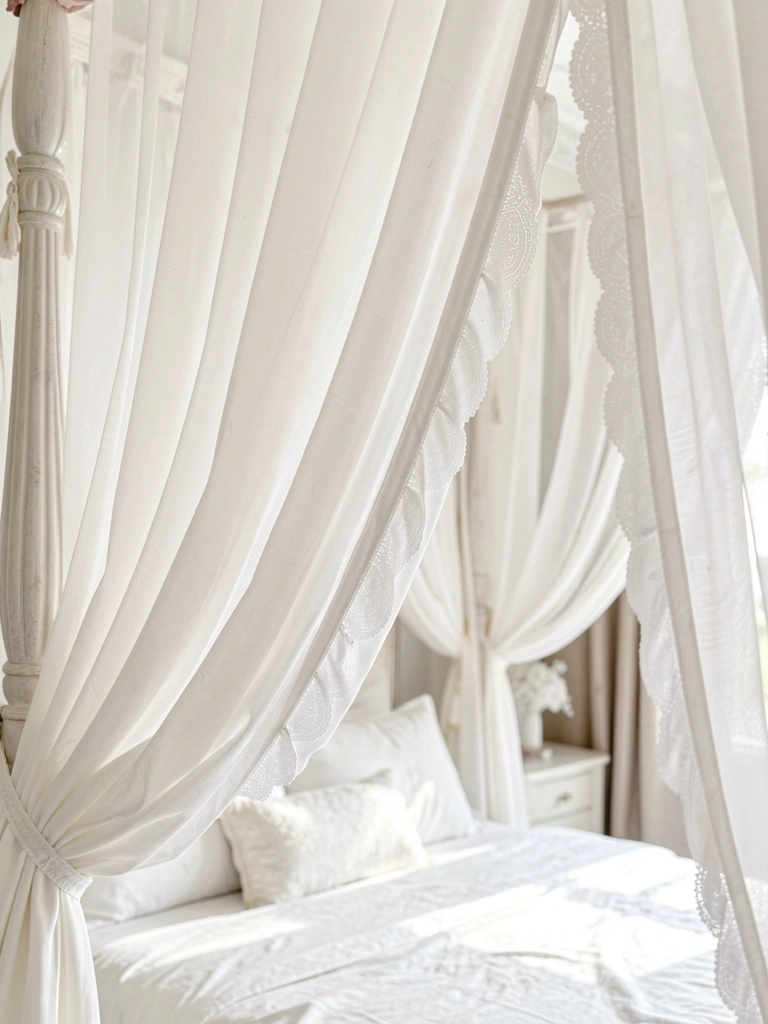
Next, I drape the sheer canopy. Attach it high on bed posts or ceiling hooks, letting fabric fall even on all sides. Pull it back slightly on one side for easy access.
It lifts the eye without crowding. The room breathes now, taller and airy. Most forget to balance the drape—too tight looks like a tent.
Don't stretch it drum-tight. Loose folds catch light better, softening edges. The bed floats comfortably.
Step 3: Place Wall Elements Low and Sparse

I add the crown decal above the bed, eye level when sitting up. Keep it one main piece; dot smaller items like a mirror frame nearby, not clustered.
Walls frame the pink without fighting it. Space lets each shine. Folks overload walls, making rooms close in.
Avoid hanging too high. Low placement ties to the bed. Now it feels grounded.
Step 4: Layer Accessories on Surfaces
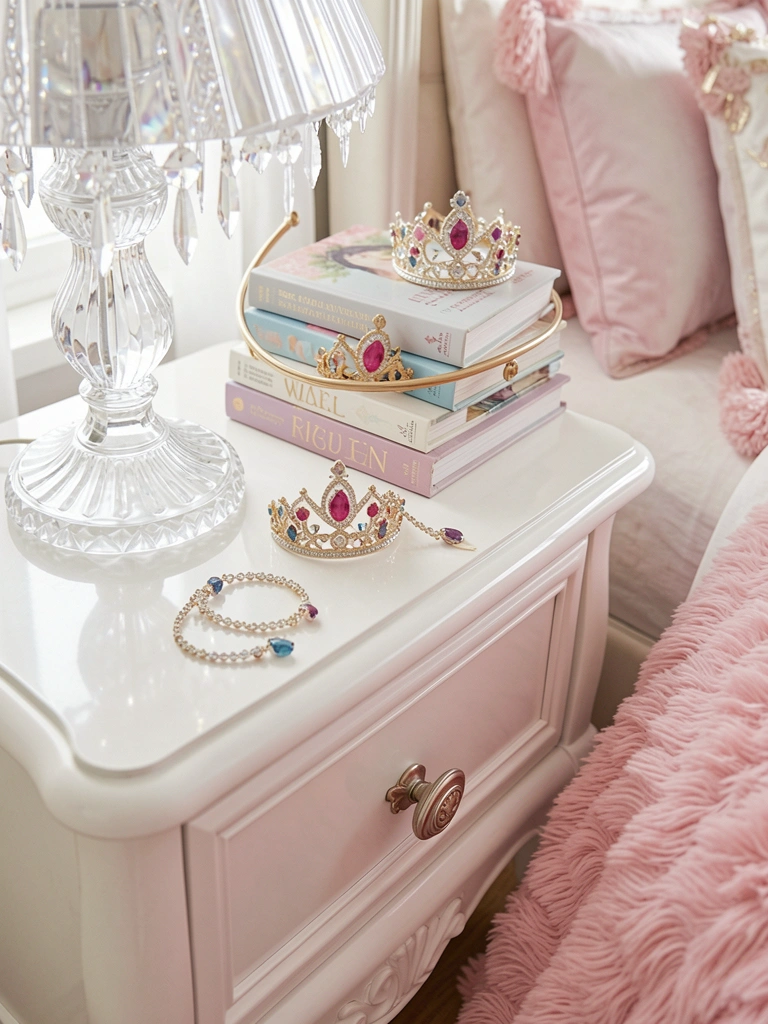
On the nightstand, I set the lamp first, then the tiara shelf with a book or two. Rug goes under the bed, pink peeking out.
Surfaces feel lived-in, not bare. The lamp adds quiet glow. People skip height variation—everything flat bores the eye.
Don't crowd; one or two items per spot. Balance emerges.
Step 5: Check Flow from the Door
Step back from the door. Walk in, note if pink leads your eye smoothly to bed, then walls. Adjust pillows or drape if anything blocks.
The whole room connects now. It welcomes without surprise. Many ignore entry view—rooms feel off from there.
Tweak one thing at a time. It's settled.
Balancing Pink Tones
Pink can pool heavy if not broken up. I mix soft pinks with whites and golds.
- Tuck white shams under the comforter edge.
- Add one cream lamp shade.
- Let rug fade to beige at corners.
This keeps it warm but clean. Eyes rest easy.
Personalizing for Her Age
I watch what she loves. At 5, more crowns; at 10, subtle.
Think simple swaps:
- Swap pillows for her favorites.
- Add a framed drawing near the crown.
It stays hers, comfortable over years.
Keeping It Fresh
Dust settles fast on sparkles. I refresh monthly.
- Fluff pillows weekly.
- Straighten canopy folds.
- Swap a book on the shelf.
Small touches hold the balance.
Final Thoughts
Start with the bed alone. See how it sits. You've got this—one layer builds quiet confidence.
The room will feel right because you placed it that way. It's her cozy spot now. Just live in it.
Leave a Reply